Welcome to Elderfield Beginner Guide
Last updated: 2026-09-14 · 10 min read
Welcome to Elderfield looks like a cozy farming game for about an hour, and then it starts charging you rent. This page covers what actually matters in your first days, what you can postpone, and the couple of habits that prevent the most common early frustration.
Three things matter before anything else. Back up your save folder — it lives inside the game's install directory, and reinstalling takes it with it. Understand that combat is turn-based with action points, not action combat, so a bad fight is a planning failure rather than a reflex one. And learn to bathe, because bathing heals you and resets every mystery in the world, which makes it the single most useful action in the early game.
Pick Your Difficulty, and Know What You Are Picking
The game offers a difficulty choice at the start, including a cozy option that the store description calls a more laid-back experience. There are also harder settings, and the Stone Tower achievement set confirms there are at least Cozy, Easy, Normal, Hard, Nightmare and Custom tiers in the game.
The important structural point comes from the achievement list: finishing the Stone Tower is tracked per difficulty. The five standard tiers stack — clearing it on Nightmare awards Cozy, Easy, Normal, Hard and Nightmare at once — but Custom is tracked separately and requires its own clear.
If you think you might eventually want full achievements, start on Nightmare and bank five of the six difficulty achievements in one clear, then do a Custom run separately. Starting on Cozy and intending to work upward later means clearing the same content up to six times.
If you are here purely for the atmosphere and the farming, Cozy is the correct choice and there is no reason to make the early mines harder than they need to be. The game is genuinely demanding underneath the cozy presentation, and the difficulty setting is how you choose which version you are playing.
Your First Week, In Order
Elderfield does not hold your hand, but the early game does have a natural order to it. Working through the game's early town progression before wandering off is what keeps your first week productive instead of expensive.
1. Meet the people who give you things
Talk to the townsfolk early and thoroughly. In this game NPC conversations are the source of key items, task starts and mechanical unlocks — not just flavour. The Farmer and the Teacher are two of the earliest characters with real function, and several early tasks begin from a conversation rather than from a task board.
2. Get your basic tools sorted before you go anywhere dangerous
You start with basic versions of the core tools — watering can, hoe, axe, pickaxe, scythe. Upgrade quality matters more here than in most farming games because the mines are genuinely hostile, and a sturdy-tier tool is a real efficiency gain rather than a cosmetic one.
3. Establish the farming loop before the combat loop
Crops are the engine that funds everything else, and the crop achievements are cumulative — every harvest from day one counts toward the 10,000 tier. There is no strategic reason to delay farming while you explore.
4. Then open the town up
Town progression gates the rest of the map. Bus stops, the Mall, the school and eventually the Old Woods all sit behind early town milestones, so pushing the town route forward is what unlocks the content you actually want to see.
The specific sequence is flexible. What is not flexible is treating the town as your hub: almost every unlock in this game traces back to a conversation or a task in town, so time spent there is never wasted time.
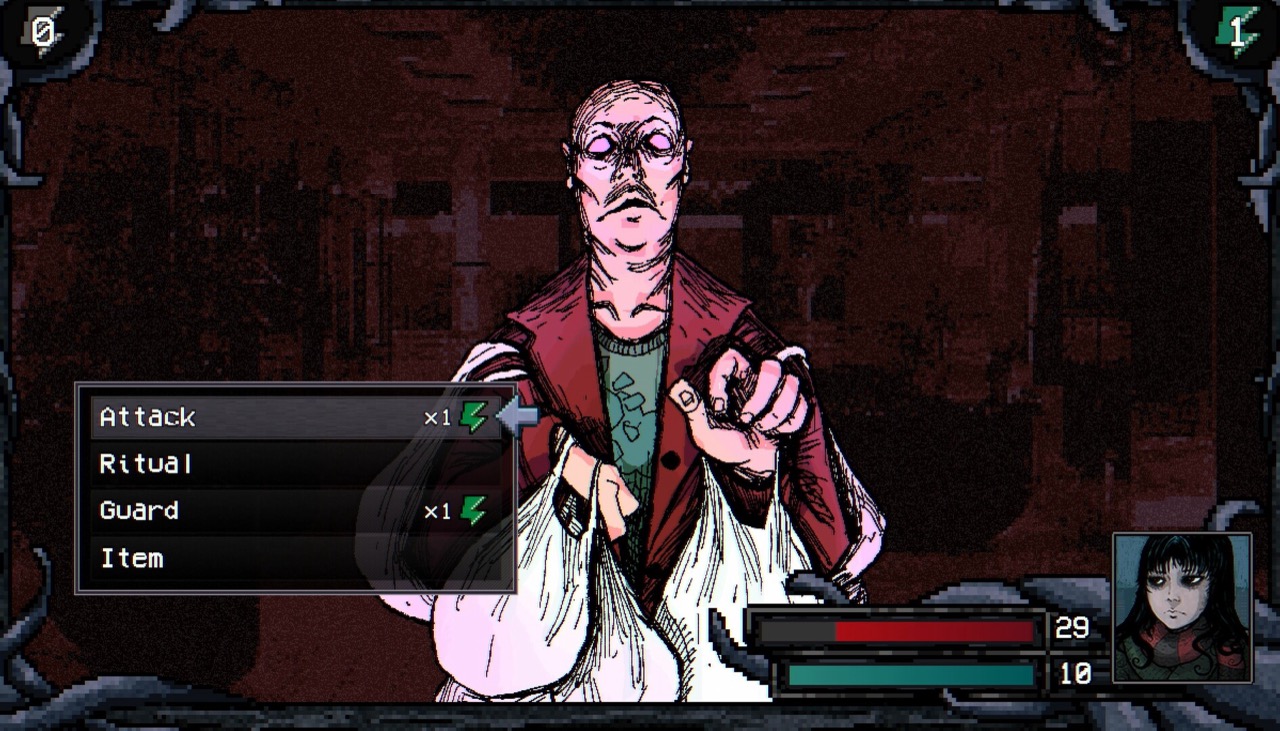
FIG. 01 — Your home is the hub: save, bathe and sleep all happen there.
Your Home Is the Real Hub
The official wiki describes the player's home as the central hub of the game, and it is worth internalising what that means concretely. From your home you can:
- Save the game — at the bed, deliberately. There is no rolling autosave generating recovery points behind you.
- Bathe — which heals you and resets every mystery in the world.
- Sleep — which can trigger random Sleep Events, both good and bad.
That first item is the one that costs beginners the most. Because saving is manual and the save files live in the install directory, the difference between a bad delve that costs you an hour and a bad delve that costs you a week is whether you copied the save folder first. The save file guide covers the thirty-second routine.
The bathing detail is the one that rewards curiosity. Because a bath resets mysteries, and mysteries are the only source of a large number of unique items, bathing is not just hygiene housekeeping — it is the reset button on a renewable loot system. See the mysteries guide for how to exploit that.
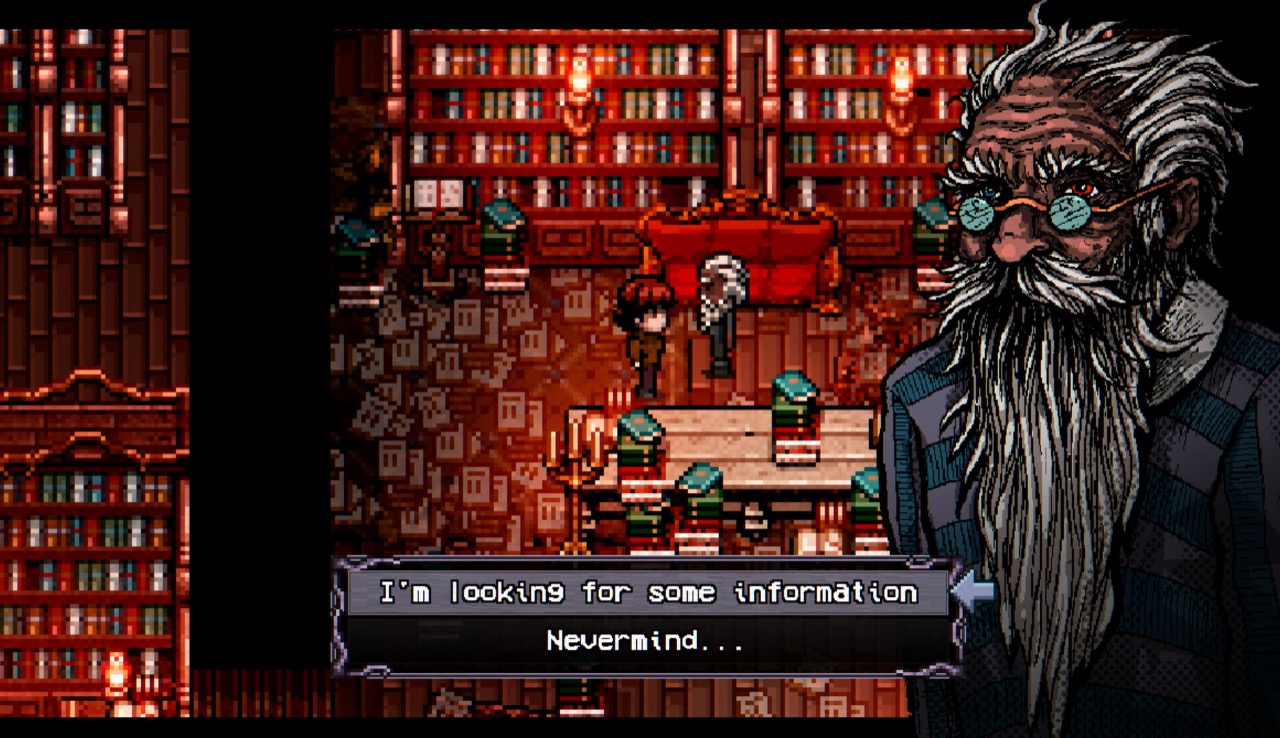
FIG. 02 — A day runs about twenty real minutes and rolls over at midnight whether you sleep or not.
How Time Works, and Why It Matters
A full day and night cycle lasts roughly twenty minutes of real time. At midnight the game rolls over into a new day automatically, whether or not you went to sleep.
That automatic rollover has real consequences that are easy to miss at first. You cannot bank time by staying up. Anything you intended to finish today but did not is simply gone, and the day counter has moved regardless. The practical implication is to plan around the day boundary rather than assuming you can always squeeze one more task in.
There are also two event systems layered on top of the day cycle, which is why the game feels busier at night than the clock suggests. Sleep Events are triggered by going to bed and can be good or bad. Moon Events happen at midnight on their own schedule, separate from anything you do. Blood Moon and Soul Moon are the notable ones — both reset mysteries.
Because a day is twenty real minutes and rolls over whether you sleep or not, the two things worth scheduling are: your save at the bed (do it before anything risky), and your bath (twice — once to heal, once to reset mysteries before a farming run).
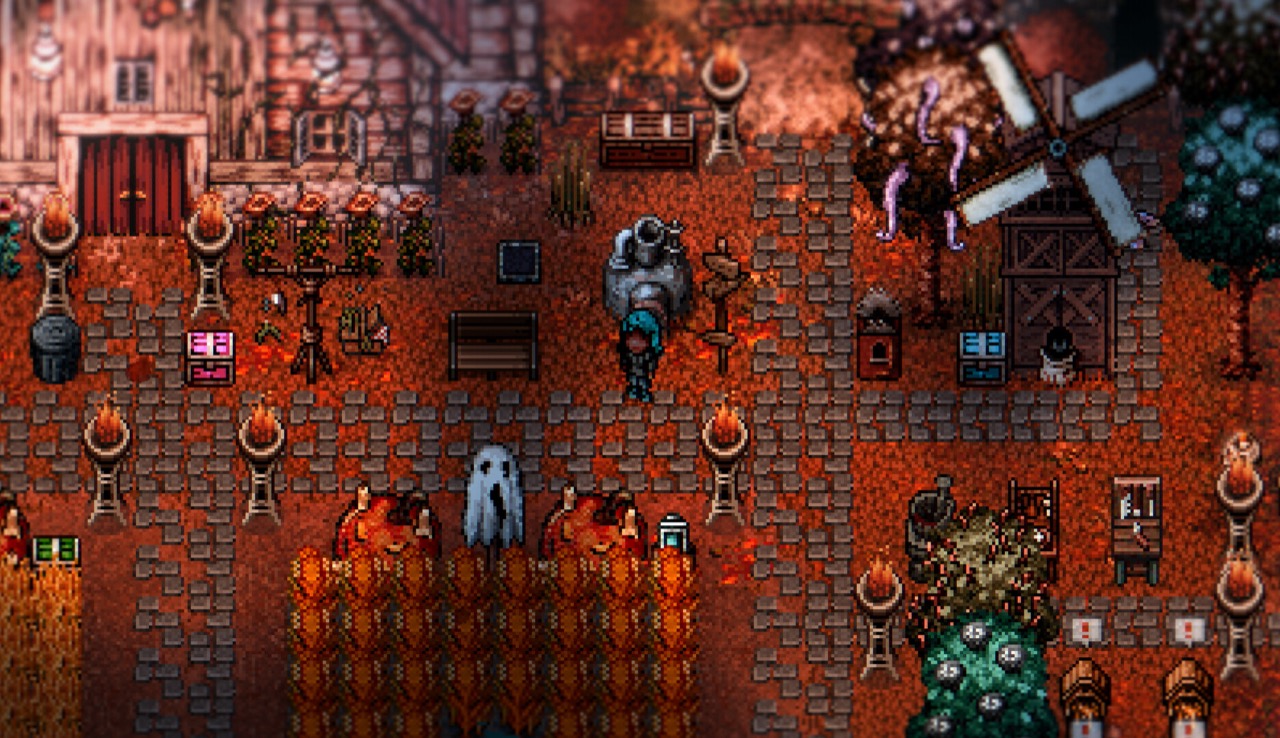
FIG. 03 — Action points, not reflexes, decide early fights.
The Combat You Need to Understand Early
Combat is turn-based, and most of the early frustration comes from misunderstanding two mechanics. Both are covered in depth in the combat and AP guide, but here is the beginner version.
Action points decide how much happens per turn
Each command — attack, ritual, guard, item — costs action points. You have a limited pool. Some enemies have a much larger pool than you, which is why an enemy can act four times to your one. This is a design feature, not a bug: the Soul of the Catacombs has four action points and zero Agility, meaning it lets you move first and then hits you repeatedly.
Multi-hit skills are not extra turns
When you see several damage numbers from one enemy action, that is a multi-hit skill resolving per hit. It matters because damage reduction applies per hit, so flat defence is much stronger against a three-hit attack than a single big one.
The beginner-level takeaway: prioritise surviving a burst over maximising your damage. In a system where the enemy might get four actions before your next turn, effective health and healing are damage stats.
Curses and Blessings Stack, and Both Matter
Elderfield runs a status effect system with curses on one side and blessings on the other, and both accumulate on your character rather than resolving cleanly at the end of a fight.
The achievement data tells you how central this system is: there are achievements for having five different curses at once, five different blessings at once, five stacks of five different blessings, and the same for curses. That is a strong signal that the developers expect you to engage with the system rather than avoid it.
The blessing list includes effects with genuine trade-offs — there are blessing potions named for panic, skepticism and greed, and one of the game's documented mysteries can permanently reduce your maximum defence. Read what a blessing does before treating it as an upgrade.
For beginners, the practical habit is to check your status effects before entering a long delve. A cluster of small stat penalties is what turns a manageable early mine run into a death, and curses are visible to you before you commit.
Money, and the Fact That Someone Is Charging You Rent
Gold income is a progression ladder in its own right. The achievement tiers track cumulative earnings at 1,000, 10,000, 100,000 and 1,000,000 gold — cumulative meaning every coin you have ever earned counts, not your current balance.
That is encouraging news for beginners, because it means early selling is not wasted progress. Anything you sell in your first week is banked toward the ladder even if you spend the money immediately.
The pressure on the other side is that this is a game where you owe people money. The town has a tax structure and the game is not shy about it. Treating income as something to grow deliberately rather than spend opportunistically is the difference between a comfortable mid-game and a constant squeeze. Farming is the reliable foundation; the mine, the mall shops and selling surplus all add to it.
What You Can Safely Ignore at First
Elderfield is dense enough that trying to engage everything at once is the fastest route to feeling overwhelmed. These are genuinely postponable:
| System | Why you can wait |
|---|---|
| Deep crafting chains | Refining materials is expensive early and the inputs are better spent on tools. Come back when your income is stable. |
| Romance and friendship depth | Friendship builds over time and there is a lot of it. Nobody's romance is closing in week one. |
| Fishing tournament ambitions | It is a contest with an achievement attached, not an early progression gate. |
| The Art Gallery | A completionist goal with no partial credit. Leave it until the rest of the game is handled. |
| Hunting every mystery | They reset when you bathe, so nothing is lost by ignoring them early — unlike most collectibles, these are repeatable. |
Five Habits That Save Entire Runs
- Copy the save folder before anything risky. Thirty seconds, and it is the difference between repeating one fight and repeating a season.
- Turn off Steam Cloud if you played the demo. The developer has confirmed demo saves and demo config files can be restored over your full-game data. This one silently costs people their settings and sometimes their save.
- Check your status effects before a long delve. Curses stack quietly, and a pile of small penalties is what kills you.
- Bathe deliberately, not just to heal. It is the reset button on the mystery system, which is where the game's unique items come from.
- Talk to everyone before you assume a task is unavailable. Key items and tasks start from conversations, and there is no separate interface telling you an NPC has something for you.