Welcome to Elderfield Boss Guide
Last updated: 2026-09-14 · 10 min read
Elderfield's boss fights punish specific mistakes rather than testing reflexes. This page is structured around what actually decides each encounter — the mechanics, the preparation, and the numbers the game gives you — rather than around a script that stops working the moment your build differs from the author's.
Before any major fight: clear your curses, raise your Agility so you act first, and back up your save. The single most common cause of a lost boss fight in this game is entering with a pile of stacked stat penalties from earlier encounters, then discovering that the boss gets multiple actions before you do.
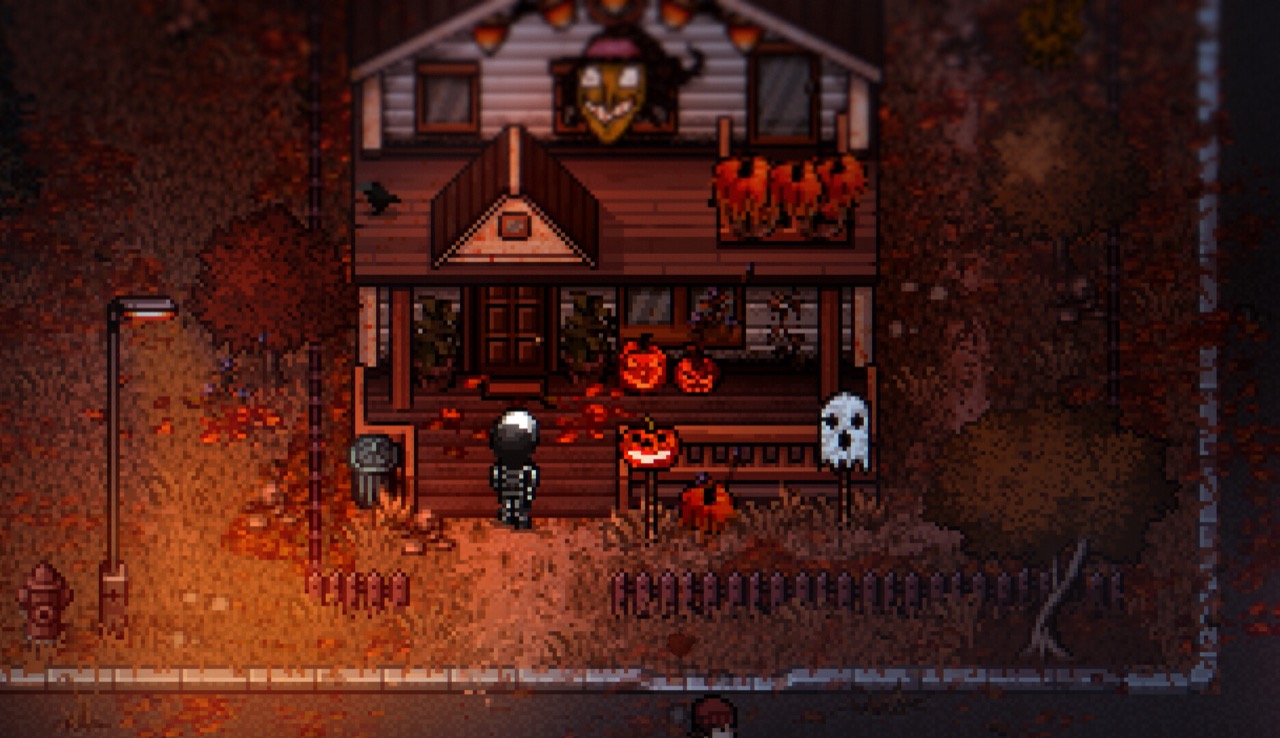
FIG. 01 — Dark enclosed arenas are where the hardest fights happen.
How Boss Fights Work in This Game
The fights that matter share a structure worth understanding before individual tactics, because it is what makes generic advice useless here.
Action points are the difficulty dial
A boss is dangerous in proportion to how many actions it takes relative to you. Most regular enemies sit at one action point. The notable bosses are built differently — the Soul of the Catacombs, for instance, has four action points and zero Agility, which means it deliberately lets you move first and then hits you four times before your next turn.
That design tells you what the fight is testing. It is not testing whether you can out-damage the boss; it is testing whether you can survive a burst. Effective health and reliable healing are damage stats in these encounters.
You are not expected to win on the first attempt
Several of the hardest fights in the game sit at the end of long progression chains, and one of them is called out in the achievement list as the game's completion milestone. Treating a loss as information — about action economy, about your status effects, about your Agility — is more productive than treating it as a wall.
Enemy records on the official wiki list stats including AP, Agility and drops. They do not publish damage formulas or exact resistances, and neither does the developer. Any guide quoting precise damage multipliers for this game is estimating, not reporting.
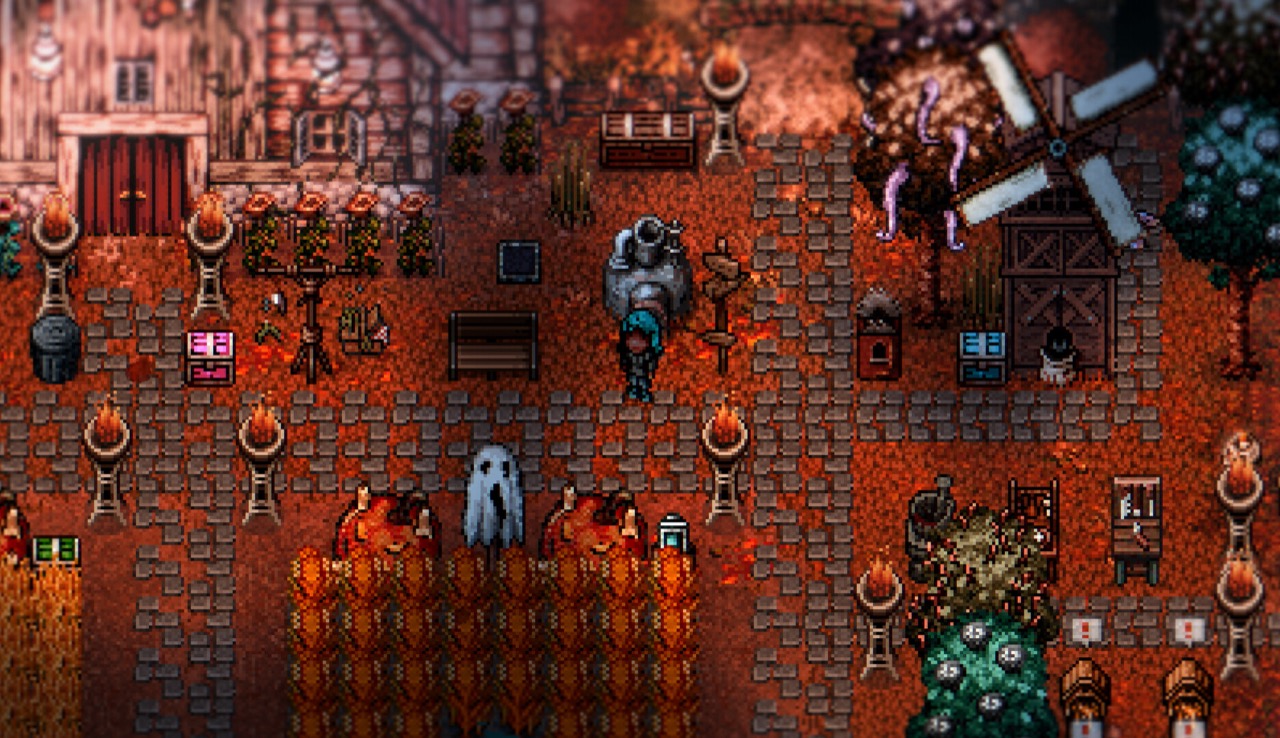
FIG. 02 — Preparation decides these fights more than execution does.
The Preparation That Actually Changes the Outcome
Skipping this section is why people report a boss as impossible and then beat it easily on a retry. None of it is exotic; all of it compounds.
| Preparation | Why it changes the fight |
|---|---|
| Clear curses first | Curses stack as small stat penalties. Entering a multi-action boss fight already reduced is how a survivable burst becomes a lethal one. Curses and blessings are visible to you before you commit. |
| Raise Agility to its cap | Agility decides turn order. Buffs give 10% per stack up to 5 stacks, so up to a 50% swing — enough to flip who moves first against most enemies. Acting first means acting before the burst, not after it. |
| Carry healing that does not cost a turn you lack | Against a four-action enemy you cannot afford to spend a whole turn on recovery and take four more hits. Items and instant effects matter more than slow healing. |
| Bring a staff if you use rituals | Staff weapons give blessing and curse rituals a 50% chance to cost no AP. In a long fight that is a substantial number of extra actions. |
| Stack a Fatal combat point expectation, not a plan | Combat points build to 4% per stack and reset when they fire. You cannot bank a proc for the boss, so plan for them as upside rather than as the core of your strategy. |
| Back up your save | Thirty seconds. The difference between repeating one boss and repeating the delve that led to it. |
Mall Administrator
This is the fight most players meet first, and it is a required one rather than an optional challenge. Defeating it yields a Steam achievement and the third Gate Key, which gates part of the Sewers.
Where it sits in progression makes it instructive. It is in the Mall's F1 hallways, behind the back-office route you open with the Mall F1 Hallway Key from Adrian — so by the time you fight it you have already dealt with the Mall's interior layout and its other threats.
What to prepare
- Do the fight after a bath, not after a mine run. Arrive clean rather than carrying the accumulate damage and curses of the Mall Mines.
- Bring your best available weapon tier. This is the point where sturdy-tier tools stop being optional.
- Expect it to be your first real multi-action read. Watch whether it acts once or more — that tells you how the rest of the game's bosses will be built.
It is a gate rather than a wall. If it is killing you, the problem is almost always preparation state rather than your build being wrong, and coming back rested with the status stack cleared usually settles it.
Soul of the Catacombs
This is the fight that generates the most forum posts, and it is worth understanding directly because the mechanic behind it is clean and learnable rather than unfair.
Action points: 4. Agility: 0. It will let you act first and then take four actions before your next turn. It is the confirmed high-AP enemy in the game's data.
That Agility of zero is the key to the whole encounter. A creature with four actions and high speed would be genuinely unwinnable. A creature with four actions and no speed is a puzzle about surviving a fixed burst window, because you always get the opening move.
How to approach it
- Use your first action on defence or setup, not on damage. You know four actions are coming. A buff or a defensive measure applied before the burst is worth more than a damage figure that will not end the fight.
- Assume four incoming hits, and check whether your healing covers that. If it does not, the fight is a preparation problem you can fix before re-entering.
- Get your Agility capped. You already move first by design; capping Agility makes sure nothing else in the arena overtakes you and keeps the sequencing predictable.
- Do not walk in with curses. Four actions against a stat-reduced character is where most of the reported losses come from.
The tempting read is "kill it fast". With four actions available to it, a damage race is the one approach the encounter is built to beat. Survive the window, then win the war of attrition.
Defeating it unlocks an achievement, and it is worth noting that it sits below 0.1% global completion — this is one of the fights most players never finish.
Ancient Mushroom and Ancient Tree
These two are the mid-tier named enemies, and they are useful as a difficulty checkpoint: if either of them is comfortable, you are ready for the Catacombs; if either is a struggle, go and raise your tool tier and clear your status effects first.
Both have achievements attached — one for each kill — and both sit at low global completion rates relative to the early-game achievements, which tells you players are reaching them but not always clearing them. They occupy the band between the Mall Administrator and the Emissaries in difficulty.
The preparation advice for them is the standard list above: arrive clean, cap Agility, bring your best weapon tier. There is no documented trick to either beyond that — they are stat checks on whether your preparation has kept up with the game's progression.
The Emissaries
The Emissaries are the game's late-game boss set, and they are the reason many players never reach full completion. There are four: the Emissaries of Daeus, Delvek, Kaal and Xxarteck. Each has its own achievement, and killing all four culminates in the game's flagship achievement — the one whose description is simply about slaying the Emissary of Xxarteck.
What is publicly documented about them, honestly: they exist, they are late-game, each is worth an achievement, and all of their achievements sit below 0.1% global completion. What is not publicly documented is a verified set of exact weaknesses or damage formulas per Emissary. We are not going to invent one.
You will find guides online listing precise elemental weaknesses and recommended level numbers for these fights. We have not found those numbers in the game's own data or the developer's communications, so we do not reproduce them here. What follows is what can be verified plus the preparation framework, which is what actually decides these encounters.
Verified preparation framework for late-game fights
- Arrive with a clean status stack. Non-negotiable at this tier. Every curse carried in is a permanent disadvantage across a long fight.
- Max your Agility across the fight, not just at the start. Debuffs cut agility 10% per stack to 5 stacks, so a boss applying agility reduction can flip the turn order mid-fight.
- Build around ritual efficiency. A staff plus rituals is the most consistent action economy in the verified game data — 50% of blessing and curse rituals cost no AP.
- Treat defensive combat points as a real resource. Defensive points restore 25% of both HP and MP when they trigger, which is better than most items and arrives for free.
- Back up before each attempt and keep the backup until the fight is done.
Gravemoss Colony and the Remaining Named Fights
The remaining named bosses with achievements — the Gravemoss Colony among them — share the same structural rules: they are dangerous in proportion to their action economy, and they punish arriving in a weakened state. Their global completion rates sit alongside the Emissaries, at the bottom of the table.
The practical point is that there is no separate skill system for these fights. Everything that works above works here: preparation, Agility, action economy, and a saved game to fall back on.
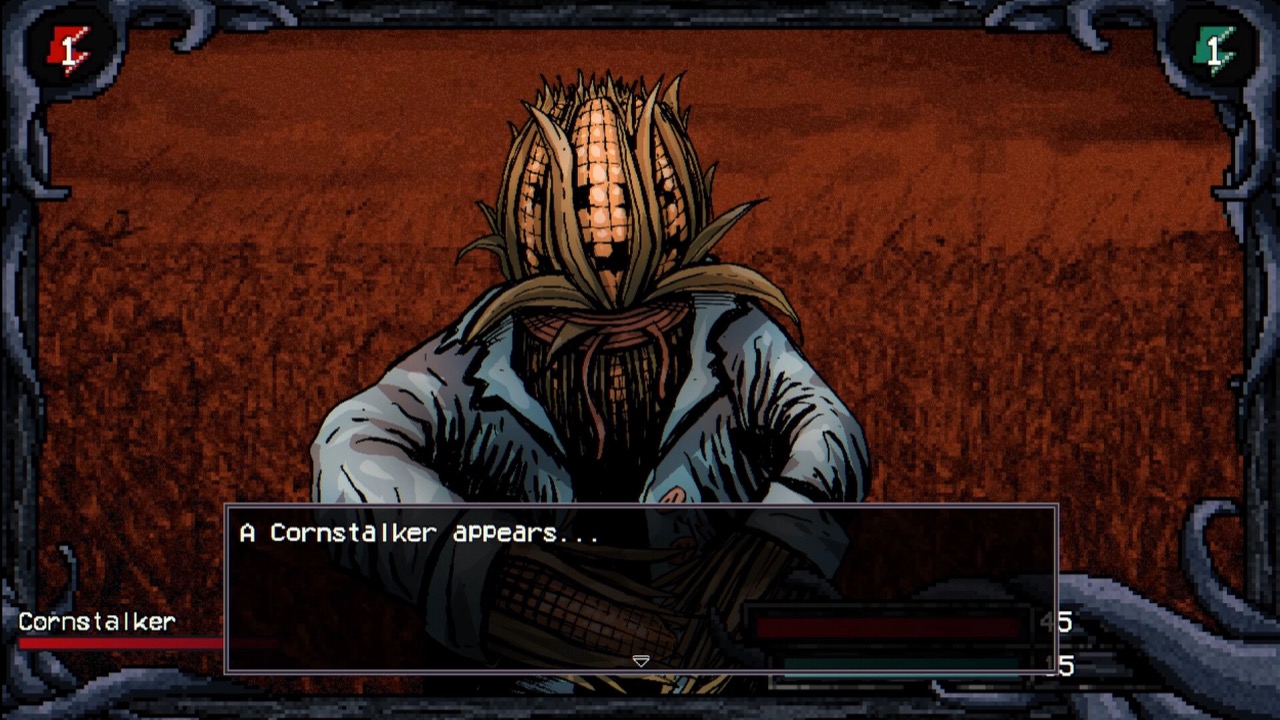
FIG. 03 — Racing a multi-action enemy is the mistake the encounters are built to punish.
Three Mistakes That Lose Fights
1. Arriving with curses stacked
This is the most common and the most avoidable. Curses accumulate across your session and each one is a small penalty. Facing a multi-action boss in a reduced state is how a fight that "should" be manageable kills you. Bathing clears more than you think — it heals you and resets the world's mysteries, and it is the natural reset before a serious attempt.
2. Treating a multi-hit skill as multiple turns
When an enemy resolves several damage numbers from one action, that is a multi-hit skill, not extra actions. It matters because damage reduction applies per hit — flat defence is dramatically stronger against three small hits than one large one. If you were building for raw damage to "out-race" a multi-hit enemy, that is the wrong lever.
3. Racing a high-AP enemy
Against an enemy with four action points, a damage race means giving away four hits in exchange for one. The winning approach is to survive the burst window and win the longer exchange. This inverts the instinct most players bring from other turn-based RPGs, and it is the specific thing that makes the Soul of the Catacombs feel impossible before you understand it.