Welcome to Elderfield Combat, AP & Enemy Turns Guide
Last updated: 2026-09-14 · 10 min read
Combat is the part of Elderfield that catches people out hardest. It looks like a cozy farming game and then a turn-based RPG kills you twice before you have upgraded anything. This page explains the mechanics that actually cause those deaths, using the game's own data.
AP is an action allowance that determines how many things a combatant does in a turn — and it is primarily an enemy stat. Most enemies have AP 1, but a few are built to act repeatedly; the Soul of the Catacombs has AP 4, which is why it appears to get four turns to your one. On the player side you start with one action and generate extra AP through specific skills, items and gear rather than gaining it automatically.
What AP Actually Is
AP stands for action points, and it governs how many actions a combatant can take before its turn ends. In the battle menu, the commands you choose — attack, ritual, guard, item — each consume from that pool. When the pool is empty, the turn is over.
The important structural detail, and the one that surprises people: AP is listed on enemy records as a stat. It is not a level-up resource you accumulate as you progress through the story. When you look at an enemy's data, AP tells you how many actions it is built to take, which is a direct preview of how dangerous it is.
Across the enemies the official wiki records, the vast majority sit at AP 1 — including the Congregation, Mask of Delvek and the Shopper. One confirmed exception exists: Soul of the Catacombs at AP 4. Most enemy records leave AP blank, so an unlisted enemy is undocumented rather than confirmed single-action.
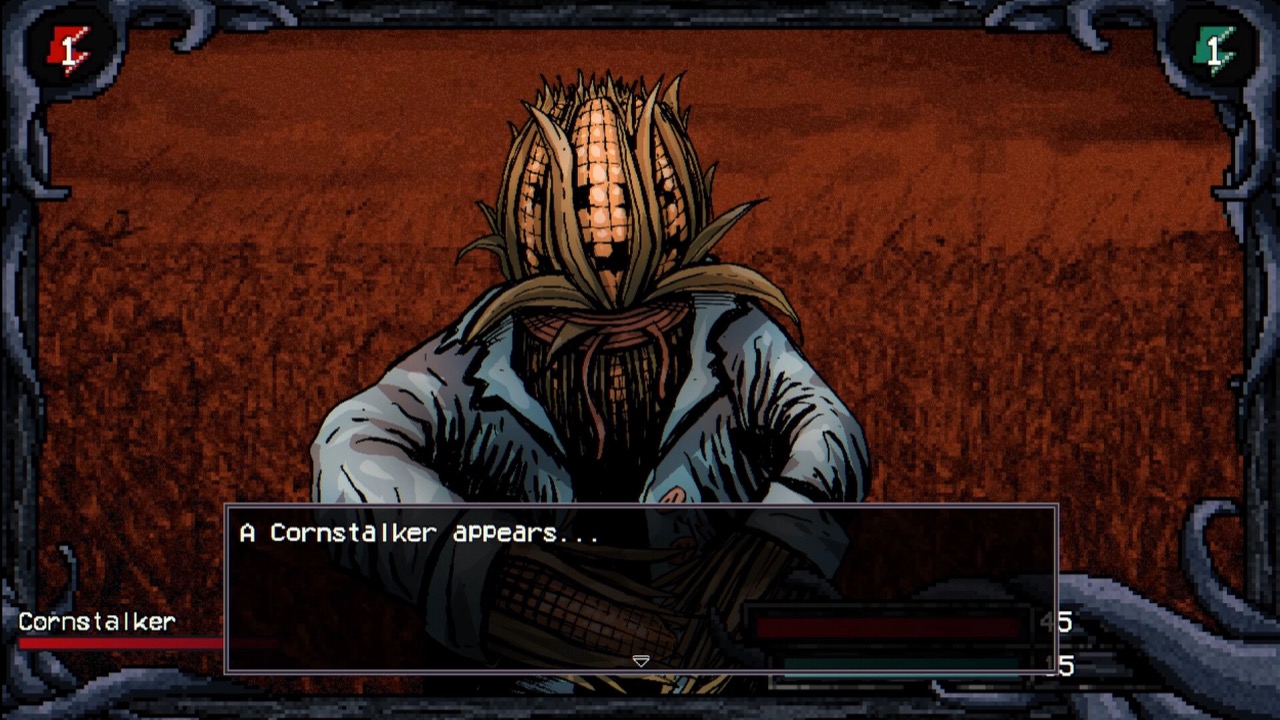
FIG. 01 — Action points decide how many times an enemy acts before your next turn.
Why Some Enemies Act More Than Once
"The enemy just moved three times in a row" is one of the most common complaints about this game, and now that you know about AP it has a direct explanation: that enemy has more AP than you do. It is not a bug and it is not a hidden speed stat misfiring — it is the encounter's design.
The Soul of the Catacombs is the clearest example, and it is worth studying as a template for how this game builds threat. It has AP 4 and Agility 0. That combination is deliberate: the creature is not fast, it is relentless. You will almost certainly act before it does on the first round, and then it will act four times before your next turn.
Against a high-AP enemy, damage-per-turn is not the metric that matters — surviving the gap between your turns is. Healing and defensive options need to cover several incoming hits, not one. A turn spent buffing is not a turn wasted if you would otherwise spend the next four hits at full exposure.
There is a design consequence here worth internalising: an enemy with high AP and low Agility is beatable by a party that can absorb a burst. An enemy with high AP and high Agility would be genuinely unfair, and the developers have not built one in the data we can verify.
How You Gain AP as the Player
You do not gain AP by levelling a stat. You gain it through specific skills, items and gear that explicitly generate it, which means AP generation is something you build for rather than something that happens to you.
| Source | Effect |
|---|---|
| Energizing Strike | 15% chance to generate 1 AP |
| Energizing Blast | 15% chance to generate 1 AP |
| Staff-type weapons | Blessing and Curse rituals have a 50% chance to cost no AP |
| Tattered Shirt | Using an item in battle has a +5% chance to add +1 AP |
Read that table together and a pattern emerges. AP generation in this game is probabilistic and comes in small increments. Energizing skills give you a one-in-seven chance at an extra action; a staff turns half of your ritual casts into free actions; a specific armour piece adds a small chance on item use.
The practical read: you are not meant to reliably take four actions a turn the way the Soul of the Catacombs does. You are meant to occasionally get a bonus action, and to build a kit where those bonuses compound — a staff plus rituals means roughly half your spellcasting is free, which over a long fight is a substantial tempo gain.
Staff builds are the most consistent AP plan in the verified data, because a 50% chance to cast a ritual for free is far more dependable than a 15% proc on an attack. If you find early fights dragging, prioritise a staff and a couple of rituals over raw weapon damage.
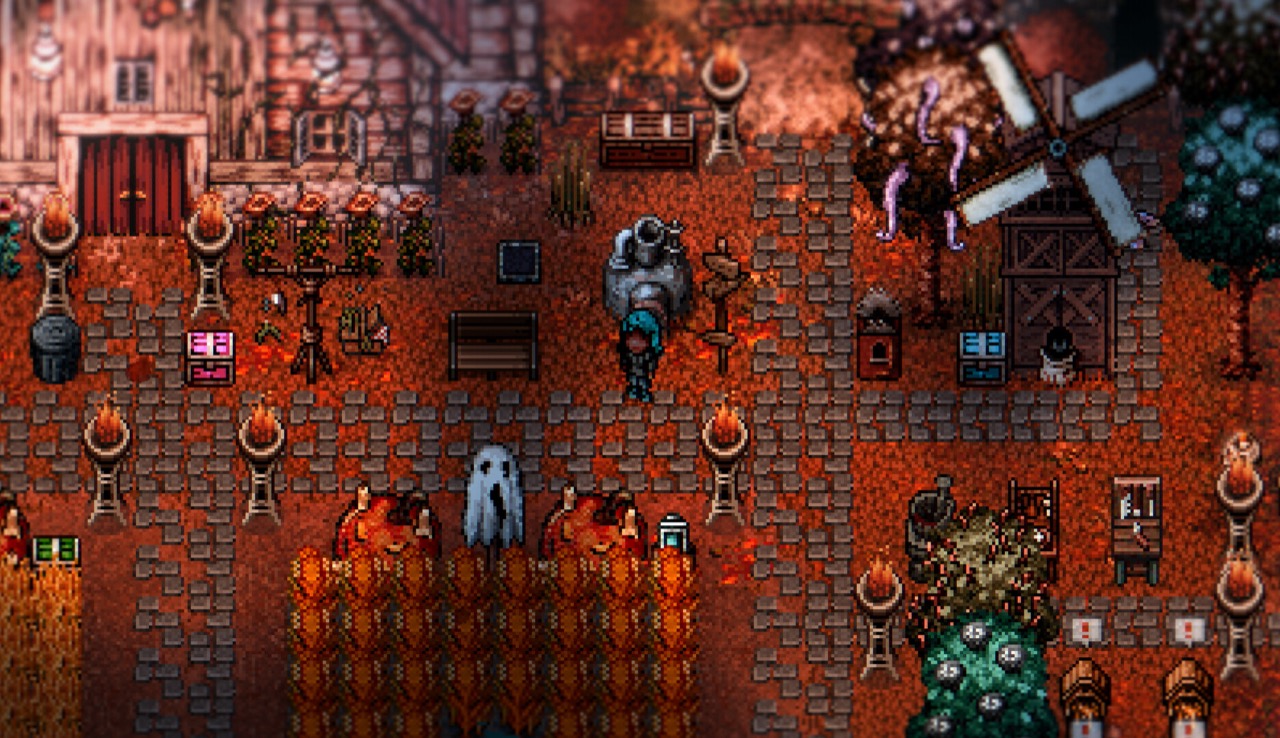
FIG. 02 — Multi-hit skills resolve per hit, which is why the damage total swings between fights.
Multi-Hit Skills and How Damage Actually Lands
The second common confusion is multi-hit attacks. Players report enemies "attacking four times" when what is happening is a single multi-hit skill resolving as several separate hits. Those are different things and they matter differently.
The clearest documented example on the player side is Frenzy Slash, which hits three times, adds +1 Swift, and deals physical insanity damage for 8 MP. Three hits means three separate damage calculations rather than one large number, which is why the totals look swingy from fight to fight.
Multi-hit skills interact with two systems that single hits do not. First, any per-hit trigger — on-hit effects, status applications, and the AP-generating Energizing procs — gets multiple chances to fire. Second, effects that reduce or absorb damage apply per hit, so flat reduction is much stronger against a three-hit attack than against a single big one.
Before you write up a fight as broken, count the actions. If the enemy used one menu command and you saw several damage numbers fly past, that was a multi-hit skill resolving, not repeated turns. If it acted several times with distinct commands, that is AP.
Combat Points: The Fourth System People Miss
Layered on top of AP is a set of combat points that build up and then discharge. There are three points to track, each tied to a different symbol in the interface:
| Point | Symbol | Effect when it triggers |
|---|---|---|
| Defensive | Heart | Restores 25% of HP and MP |
| Swift | Spiral | You evade the attack |
| Fatal | Sword | Doubles your damage |
Each stack carries a 4% trigger chance, and the counter resets to zero when it fires. That reset is the part that matters most tactically: these points build up and then spend themselves, so you cannot bank a Fatal proc and hold it for a boss.
Because the trigger is per stack at a low percentage, the points reward staying in a fight longer rather than ending it quickly — every additional action is another roll at a 4% per stack payout. Defensive points are also quietly excellent value, since restoring 25% of both HP and MP in one proc is more than most healing items give you.
The Stats That Actually Decide Fights
Combat stats fall into two family groups, and knowing which is which clarifies a lot of build advice. There are core stats, which are fixed values, and there are rate modifiers, which are percentage multipliers affecting underlying systems.
Agility is the one to understand first: it affects your speed in combat, which is what decides turn order. In a game where an enemy might act four times, being consistently first matters more than it does in a typical turn-based RPG, because the first action is the one you get before anything has happened to you.
Rate modifiers then swing those values in practice. Effects that stack agility reductions cut it by 10% per stack up to 5 stacks, and the mirror-image buffs raise it by 10% per stack to the same cap. That is a potential 50% swing in either direction, which is large enough to flip turn order against most enemies.
If a fight keeps going badly before you get to act, the problem is usually Agility rather than damage — either a debuff you are carrying into the fight, or a genuinely slow build. Capped agility buffs are a bigger swing than most weapon upgrades.
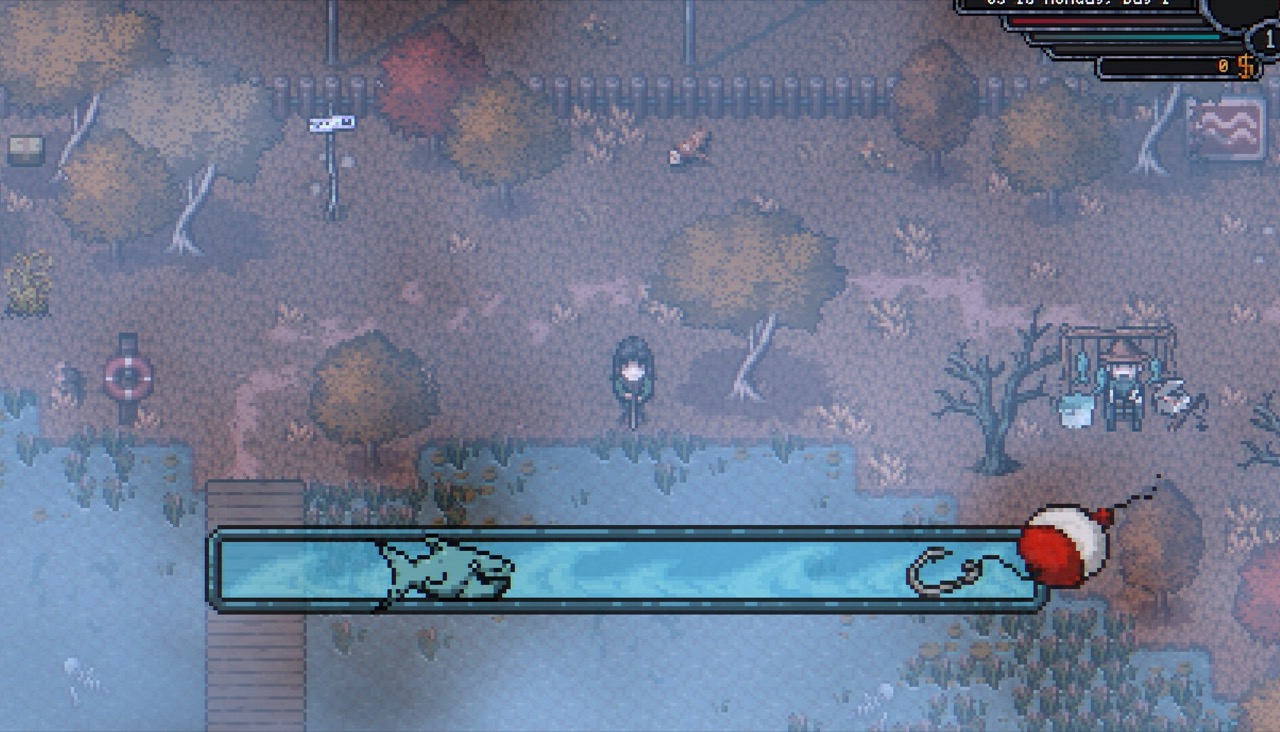
FIG. 03 — The mines are where stacked curses turn a routine encounter lethal.
Surviving the Early Mines
The mines are where most players hit their first wall, and the complaints are consistent enough to be worth addressing directly rather than pretending the game is gentle.
Several things stack against you there. Mining generates random combat encounters, so you cannot clear a route and then work in peace. Damage can arrive without you choosing to fight. Curses accumulate and each one is a papercut against your stats. And the resource chain is genuinely tight — you need multiple units of a basic material to produce a single refined one.
What actually helps
- Clear your curses before a long delve. A pile of small stat penalties is what turns a manageable encounter into a deadly one. Curses and blessings are also how you unlock some of the achievement tiers, so managing them is a habit worth forming early.
- Bring healing that does not cost an action you cannot spare. With enemies at AP 1 and above, you want the recovery to land on the same turn you are already taking.
- Do not treat a blessing as pure upside without reading it. The blessing list includes effects with real trade-offs — panic and skepticism are not straightforwardly good, and one blessing explicitly rewards greed.
- Stock a Recall option before you go deeper. Being able to remove yourself from a bad delve is worth more than one more swing at a wall.
- Back up your save before a big delve. The save file guide explains why this is a thirty-second job here.
What Is Not Documented
We would rather tell you what is unknown than invent a formula, so here is the honest list.
| Topic | Status |
|---|---|
| Fleeing from combat | Not documented. No confirmed success rate or cost. |
| Exact turn-order formula | Not documented. Agility governs speed; the calculation is not published. |
| AP values for most enemies | Recorded for only a handful of enemies. The rest are blank, not confirmed at 1. |
| Damage formulas | Not published. Multi-hit skills resolve per hit, but the underlying numbers are not documented. |
Where the community eventually establishes these, we will add them with the source attached. Until then, treat any guide that quotes a precise damage formula for this game with suspicion.