Welcome to Elderfield Treasure Map Locations
Last updated: 2026-09-28 · 8 min read
Treasure maps in Elderfield are numbered items, not quest markers. Most arrive from conversations you have already had without noticing, they do not tell you which map is which once they are in your bag, and the dig spots are specific tiles rather than general areas. This page puts the numbering, the source, the dig spot and the loot in one table so you can match a map you are holding to a place you can actually walk to.
You need a Shovel before any of this works — 100g from the General Store, and without it the dig interaction simply does nothing. Nine of the twelve maps have a recorded source and dig spot. Maps 9 and 10 come from fishing treasure and map 12 from Josh in the Art Gallery, and none of those three has a located dig spot yet. The most commonly missed step is that most maps are handed over by an NPC you spoke to in passing, so check your bag before assuming you never got one.
You Need a Shovel
Digging requires a Shovel, sold at the General Store for 100g. Until you own one, arriving at the right tile and interacting will not produce a dig. It is one of the cheapest purchases in the game and it is easy to skip, because nothing in the treasure map flow tells you it is missing until you are standing on the spot.
If 100g is a stretch early on, the fast way to it is the mines: saltrock sells for 20g and copper ore for about 22g. Two or three ore runs cover the shovel and leave you with a tool you will use for the rest of the save. See the farming guide if you would rather earn it on the farm instead.
FIG. 01 — An autumn road with wooden posts and a lone figure. The Shovel itself is a 100g General Store purchase, and most players find out they need it by standing on a dig spot and getting nothing.
The Full Map Table
Every numbered map in the game, with where it comes from and where the dig spot is. Where a field is left blank below, nothing has been recorded for it yet.
| Map | Picture | How you get it | Where to dig | What is inside |
|---|---|---|---|---|
| Treasure Map 1 | 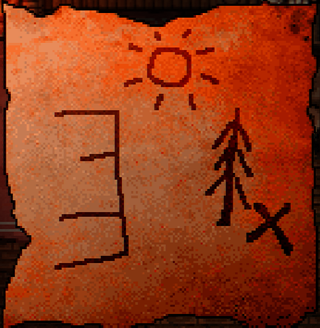 | Pet the cat in Farmer Hans's Farmhouse | Mall parking lot, at the big tree between the lot and the entrance | Cleansing Balm ×1, Bait Pack (Tier 1) ×2, Coal ×5, Spoiled Rations ×2 |
| Treasure Map 2 | 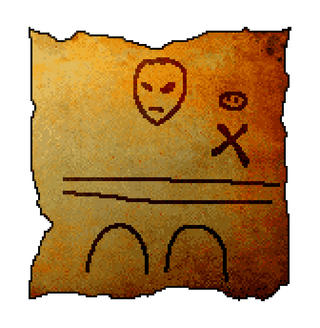 | Loan Ellie some money while shopping in the General Store | Sewers, to the right of the god shrine below the drain | Cursed Die ×2, Lucky Die ×1, Crimson Die ×1 |
| Treasure Map 3 | 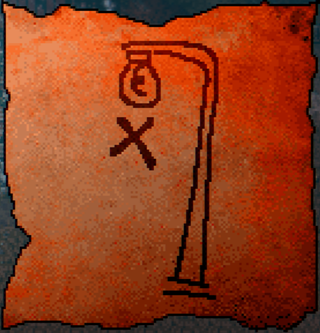 | Talk to Alice | Ranch, under the streetlamp next to Klaus's house | Recipe: Special Hotdog, Bait Pack (Tier 1) ×3, Wood ×5, String ×3, Stone ×5, Iron Bar ×1 |
| Treasure Map 4 | 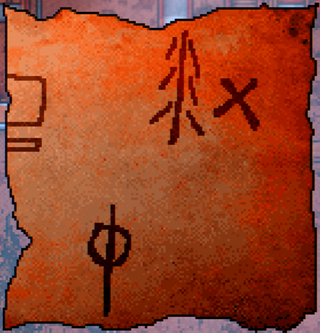 | RNG — the pentagram mystery in the Parks and Recreation office | Lakefront, immediately right of the tree next to the picnic table and above the life buoy | Aged Rum, Small Coin Pouch ×2, Medium Coin Pouch, Spoiled Rations ×3, Stealth Musk |
| Treasure Map 5 | 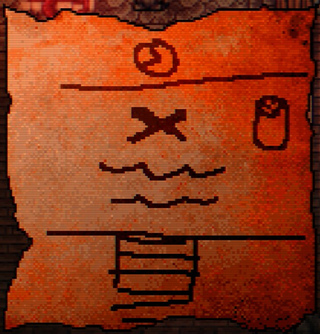 | RNG — Tier 1 book loot in the Mall Mines | Mall Back Offices, the Stalktopus pond: just below the clock, across the fishing pond | Aged Rum, Small Coin Pouch, Fickle Potions of Greed / Panic / Daring, Gold Ore ×5, Mystery Sandwich |
| Treasure Map 6 | 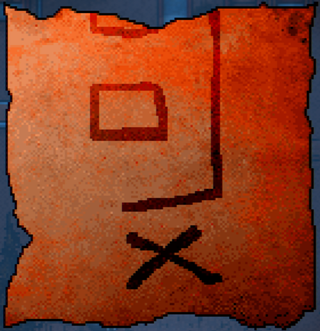 | Talk to Molly in her Workshop | Mall, to the left of the Mines entrance, next to the blue garbage can | Assorted Gems ×3, Treasure Casket ×2, Gem Bag, Blood Potion |
| Treasure Map 7 | 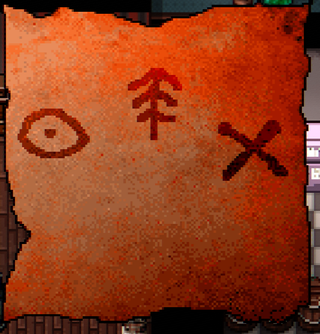 | Talk to Celeste | North West Town, north of the church: there is a water tower with an eye symbol and a big tree, and the treasure is to the right of the tree | Large Coin Box, Treasure Casket, Gem Bag, Love Potion |
| Treasure Map 8 | 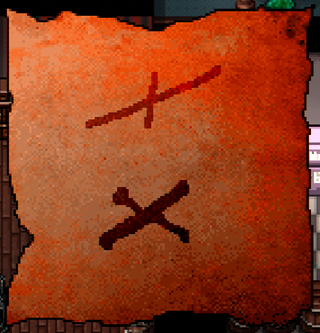 | Gossip with Blorph | Park, below the seesaw | Gem Bag ×2, Rare Gem Bag, Clear Gem |
| Treasure Map 9 |  | Fishing treasure loot | Not recorded | Not recorded |
| Treasure Map 10 | 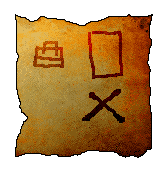 | Fishing treasure loot | Not recorded | Not recorded |
| Treasure Map 11 | 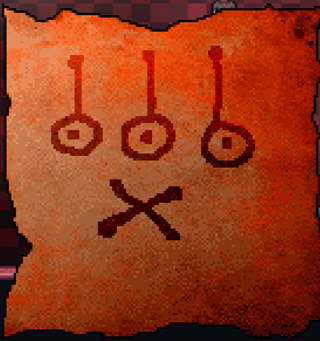 | Talk to Alice when she is at the Farmhouse | Mall Music Store, in front of the three brown guitars on the back wall | Gem Bag, Treasure Casket ×2, Love Potion, Spiced Sausage ×2, Cured Mana Steak |
| Treasure Map 12 | 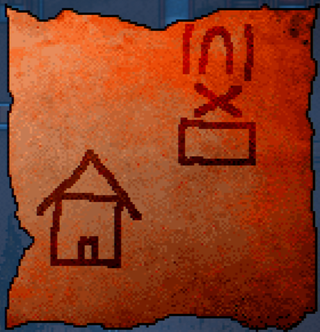 | Talk to Josh in the Art Gallery | Not recorded | Not recorded |
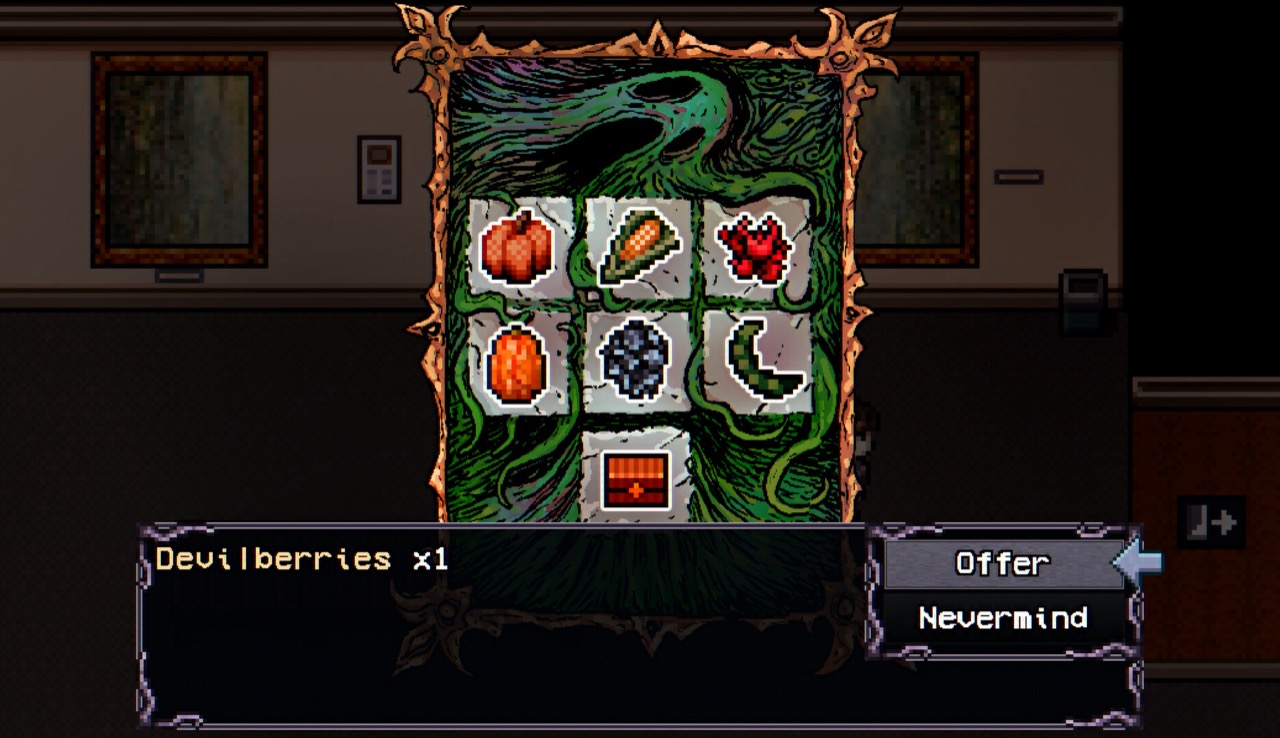
FIG. 02 — An offer prompt: a grid of item icons with Offer and Nevermind. Map 4's dig spot is at the Lakefront, beside the tree next to the picnic table, and the Lakefront is reached through the Sewers.
Where the Maps Come From
There is a pattern in the list, and knowing it changes how you play: seven of the twelve maps are handed to you by a character you talk to, and only two are random drops. The NPC sources are the Farmhouse cat, Ellie, Alice (twice), Molly, Celeste, Blorph and Josh.
| Source type | Maps | What it means in practice |
|---|---|---|
| Character interaction | 1, 2, 3, 6, 7, 8, 11, 12 | Talk to every named character, and pet the Farmhouse cat. Two of them (Alice, Josh) appear in later areas |
| Random drop or mystery outcome | 4, 5 | Not missable in the permanent sense — you keep rolling the same mystery or looting the same tier of book until it appears |
| Fishing treasure | 9, 10 | Pulled up while fishing rather than dug up from a map you own |
Map 2 has an extra condition worth flagging: the dig spot is in the Sewers, and the Sewers area around that shrine is tied to the Gatekeeper's request. If you have the map and cannot get to the tile, finish that request first. The key table covers the three Gate Keys that chain needs.
Map 11 is worth prioritising over the others if you are working on a relationship. Its loot includes a Love Potion, which is the only item in the game with a documented friendship value — see the gift guide.
Maps With No Recorded Spot
Three maps — 9, 10 and 12 — have no recorded dig location or loot. Nothing in the game points at them either, which is why they are the three that keep showing up as unanswered questions.
If you are holding map 12 and looking for its spot, the map's own art in your inventory is the clue the game gives you — nothing else has turned up a location for it.
The same applies to maps 9 and 10, which come out of fishing rather than the ground.
One numbering note that trips people up: some circulating lists stop at seven maps because they merge two entries into one. The numbering runs to at least 12, so if a list online disagrees with the map in your bag, trust the map.
FIG. 03 — An indoor conversation with an elderly villager at his desk. Map 7's dig spot is outside: north of the church in North West Town, at the water tower with the eye symbol.
Digs That Do Nothing
| Problem | Cause | Fix |
|---|---|---|
| Standing on the spot, nothing happens | No Shovel in your inventory | Buy one at the General Store for 100g. A successful dig plays its own message |
| Dig succeeds but the loot is disappointing | Expected — several maps contain rations, coal and bait rather than treasure | Nothing. Maps 1, 4 and 5 are supply drops; maps 6, 7, 8 and 11 are the gem and casket ones |
| Cannot reach the Sewers dig spot | The shrine area is gated behind the Gatekeeper's request | Complete that request first |
| Two copies of the same map, or a map that vanishes | A historical bug gave duplicate copies of map 4 | This was fixed in a patch. Verify you are on the current build before treating a duplicate as normal |
| Dug the spot and got no loot at all | A bug where fishing treasure and treasure caskets did not always give loot | Also patched. Update the game rather than re-digging |
The digging radius is one thing the developer did adjust: an early patch increased the size of all buried treasure digging locations. If an older video shows someone digging a looser tile than you can, that is a version difference, not a mistake on your part.
Did this answer your question?
What was missing?
Thanks — noted.
Map images on this page are from the Welcome to Elderfield Wiki, used under CC BY-SA 4.0.